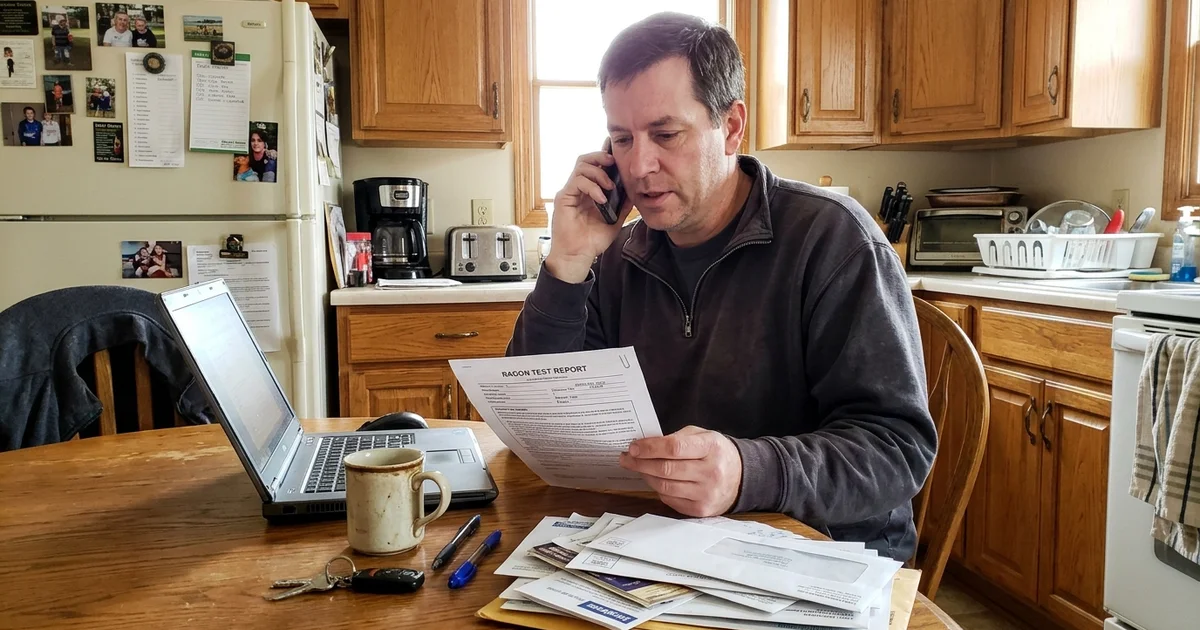
Your Radon Test Came Back High. Now What?
Take a breath. A high radon result is common in Iowa and very fixable. The next steps are simple: make sure the result is valid, decide how fast to act based on your level and your timeline, get an on-site estimate, and plan for a clearance test after the system goes in. Most homes go from a high result to a verified low one in a matter of weeks.
If you haven’t had a professional radon test, or you used a DIY kit and aren’t sure you trust it, that’s the right place to start. If your result came from a credentialed tester, keep reading.
Remember
Radon risk builds over years of exposure. A high number means “fix this soon,” not “leave the house tonight.”
Step 1: Check That the Result Is Valid
A radon number is only as good as the test behind it. Ask yourself:
- Was the test in the lowest lived-in level, away from the sump and drafts?
- Did it run at least 48 hours under closed-house conditions?
- Was it a calibrated device or a properly mailed lab kit, used before its expiration date?
If the answer to any of these is no, a retest is worth it. A continuous radon monitor gives hourly data and shows if something odd happened during the test.
Step 2: Decide How Fast to Act
The EPA’s action level is 4.0 pCi/L. It also suggests considering mitigation between 2.0 and 4.0 pCi/L. Here’s a practical way to think about timing:
| Your result | What we suggest |
|---|---|
| Below 2.0 pCi/L | No action needed. Retest every two years or after big changes. |
| 2.0 to 3.9 pCi/L | Consider mitigation. A follow-up or long-term test can help you decide. |
| 4.0 to 8.0 pCi/L | Plan to mitigate. A follow-up test is reasonable if there’s no deadline. |
| Above 8.0 pCi/L | Mitigate soon. Most people skip the second test at this level. |
In a home sale
Real estate timelines change the math. Buyers and sellers usually act on one valid test so the deal can keep moving. A seller-installed system with a clearance test, a credit at closing or an escrow holdback are all common. Your agent can help you pick.
Step 3: Get an On-Site Estimate
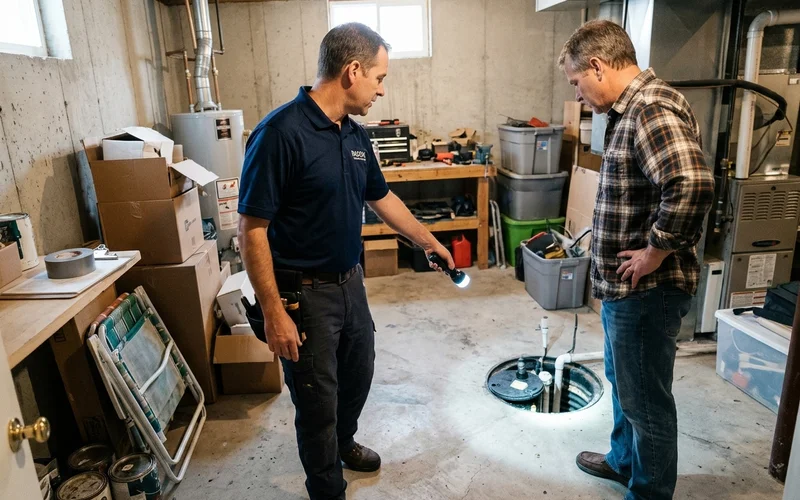
A good estimate starts with someone looking at your house. During a visit, a credentialed technician checks:
- Your foundation type, including any crawl space or slab addition
- The sump pit, floor drains and major cracks
- Where the pipe can run, inside through the garage or attic, or outside
- Where the fan can go, always outside the living space
You’ll get a written quote that explains the design. For a sense of what moves the price, see our breakdown of radon mitigation cost. To understand the system itself, start with our radon mitigation overview.
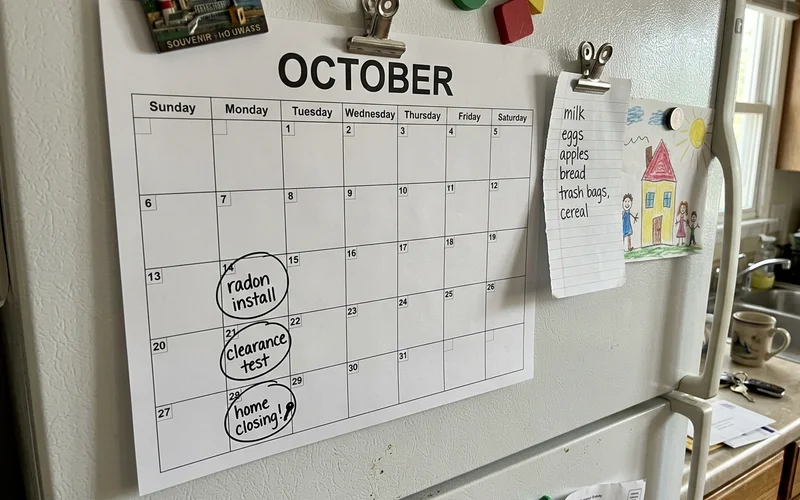
Step 4: Schedule the Install
Most single-family installs take one visit, usually within a day. Before we leave, we seal the sump and major cracks, label the system and show you the U-tube manometer so you know how to check it.
Step 5: Confirm With a Clearance Test
After the system has run for at least 24 hours, a clearance test confirms your new level. Our systems routinely bring homes that tested above 4.0 pCi/L down below 1.0 pCi/L, with up to 98.9% reduction. Keep the report. Buyers ask for it.
A Typical Timeline
- Day 1: You get your result and call us. We answer 24/7.
- Within days: On-site assessment and written quote.
- Install day: System installed, usually in one visit.
- 24+ hours later: Clearance test starts and runs at least 48 hours.
- Report: You have your new number, on paper.
What Not to Do
- Don’t panic-buy the cheapest option. Iowa requires radon mitigators who work for a fee to be credentialed. Ask for the credential number.
- Don’t rely on sealing alone. It rarely lowers radon enough on its own.
- Don’t wait a year. Plan the fix in weeks, not seasons.
Talk It Through
Not sure what your number means for your home? Get a radon quote or call (515) 218-7447. A real person answers day or night, and we’ll explain your result without pressure.